- Site Navigation

|
|

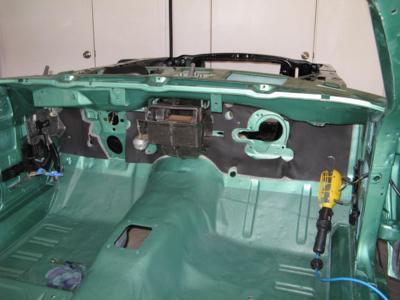
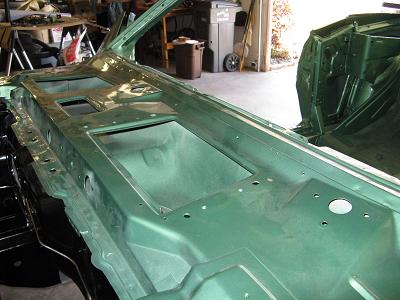
Next on the list was all of the stuff under the dash. My thinking was to get everything installed that needed to pass through the firewall before installing the engine. Once the engine goes in, there isn't much room to maneuver.
 |
 |
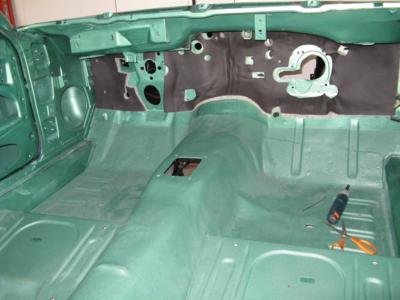
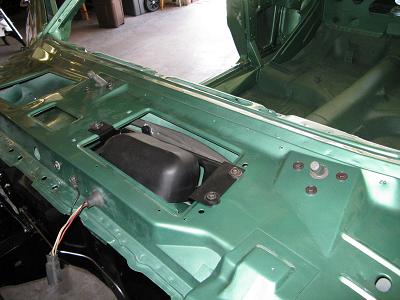
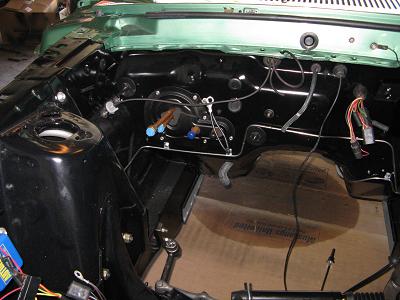
| Started off with the firewall insulation. I used spray adhesive to secure it to the firewall in addition to the rubber plugs. | Installed the fresh air vents next. My original gaskets were toast, and it seems they are not reproduced. I used a closed-cell, foam tape from the hardware store to make a new seal. Actually looks OEM - although no one will ever see it until the next restoration. |
 |
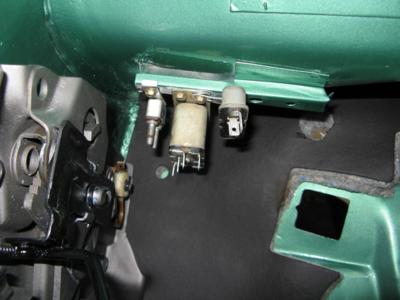 |
| Next up was the parking brake mechanism. | Since I was there, and installing these later would be difficult, I screwed on the circuit breaker, low fuel warning and seat belt warning relays. |
 |
 |
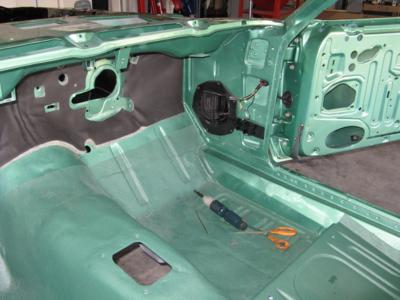
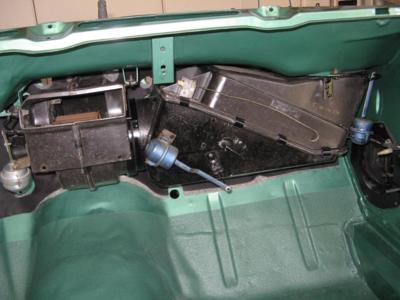
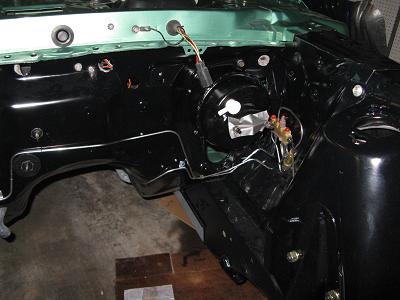
| The blower motor housing and plenum goes in next. | Followed by the a/c - heater box which contains the air conditioner condensor and heater core. The box is made of fiberglas and it somewhat fragile. It helps to have a second set of eyes on the engine side of the firewall to guide it into position. |
 |
 |
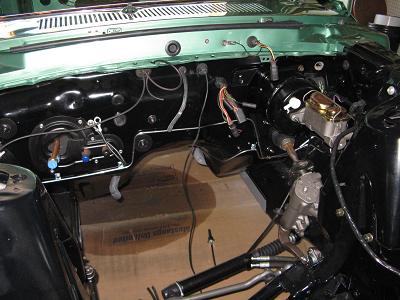
| The view so far... | ...and from the engine side. |
 |
 |
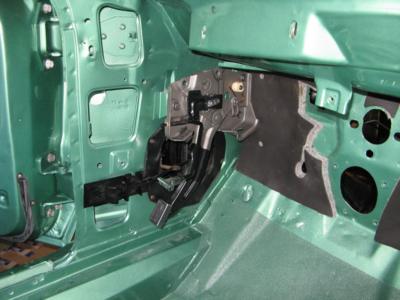
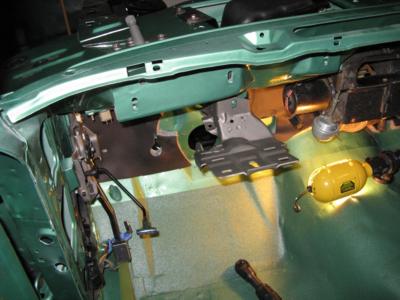
| Brake pedal support gets bolted in next | Followed by steering column support brackets and the pedals. |
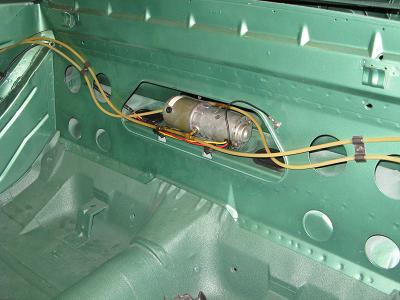
Now's as good of time as any to install the wiper motor and transmission.
 |
 |
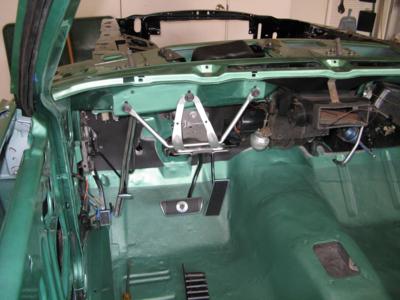
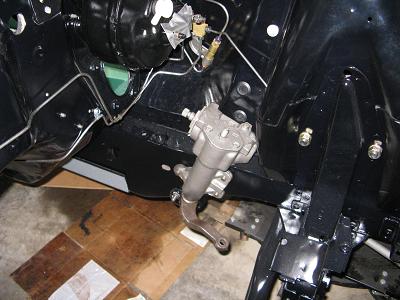
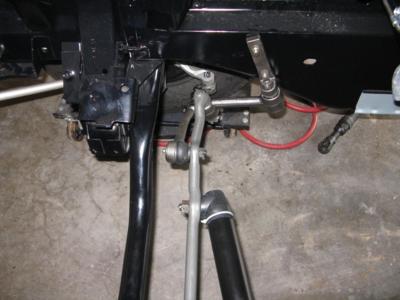
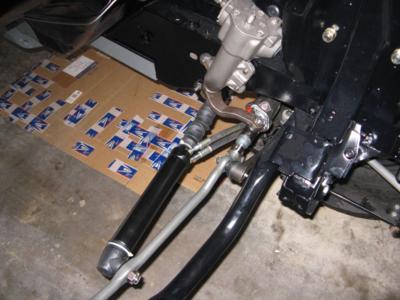
Continuing with the idea of installing parts that will be harder to get at after the engine is installed, I did the brake booster and steering gear box/pitman arm next. The steering linkage - tie rods, centerlink, power steering components - followed closely.
 |
 |
 |
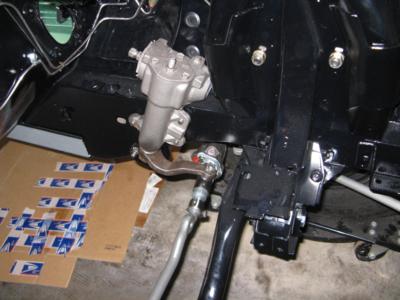 |
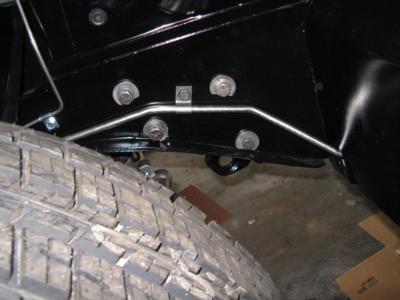
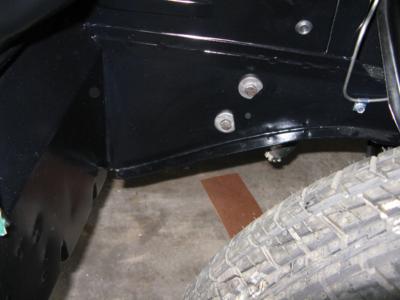
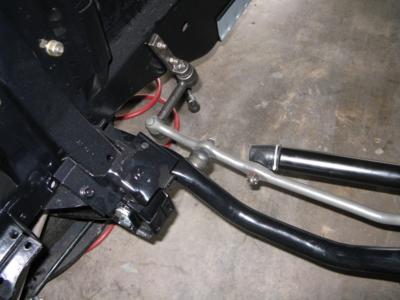
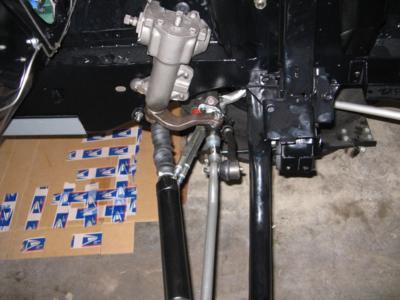
| The steering box attaches to the frame with the bolt heads in the driver's front wheel well. That's the new fuel line running between the bolts, and the brake line off to the left. | The steering box connects to the Pitman arm which connects to the power steering control valve. The centerlink is screwed into the control valve. |
 |
 |
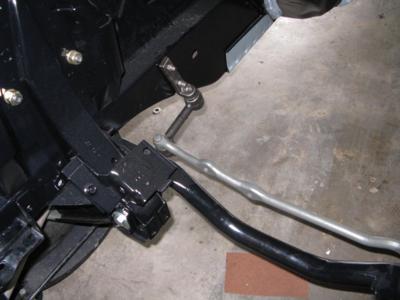
| The other end of the centerlink attaches to the idler arm. | The idler arm is bolted through the passenger side frame. |
 |
 |
| The centerlink connects to the tie rod which connects to the spindle. Passenger side shown here. | The stationery end of the power steering slave cylinder also attaches to the centerlink on the passenger's side. |
 |
 |
| The other end of the slave cylinder is attached to a bracket on the bottom of the driver's side frame. | The driver's side tie rod connects the centerlink to the spindle. |
More parts that pass through the firewall include various vacuum hoses for the heater & a/c controls and tilt-away steering column, as well as the wiring harnesses. Also shown here is the brake master cylinder. Just about ready for the engine.
 |
 |
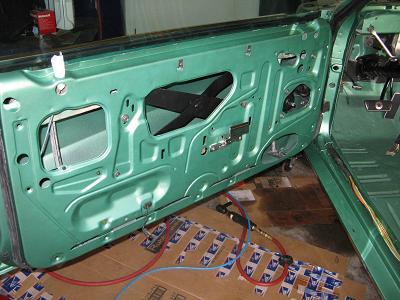
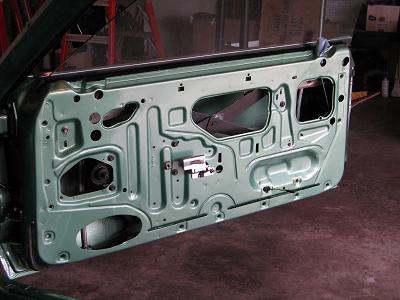
A lot of the reassembly does not need to follow any particular order. The window regulators, door glass and door handles can go on whenever the boxes holding those parts come off the shelf. Same goes for the convertible top pump and hoses. The VIN plate, though, needs to be in place before the windshield is set.
 |
 |
 |
 |
More fun in the garage on the next page or go back to the...